
This post may contain affiliate links.
Pickle lover? Canning hater? Look no further because these homemade dill pickles are quick, easy, and extremely tasty. No canning required!

Why Homemade Dill Pickles?
Healthy
When you’re in control of the ingredients, you can skip the harmful additives and stick to the good stuff. And if you’re using fresh, quality garlic and dill, you’re not just adding flavor—you’re packing in tons of natural health benefits too!
Inexpensive
The price of higher-end, clean pickles can be steep. This recipe can give you two jars for the price of one.
Quick
These homemade dill pickles take about 10 minutes to prepare. The only hard part is waiting the 24 hours for them to soak up the brine and be ready to eat!
Rewarding
There’s something deeply satisfying about eating food you made yourself—especially if it came from your own backyard. It just tastes better, because it means more.
What You Will Need
Jar(s) with lids – The size and amount of jar(s) you need will depend on the amount of cucumbers you will be pickling.
Funnel – This will make pouring the brine into your jar much easier.

Ingredients
Cucumbers – Fresh cucumbers will give you the best, crunchiest results.
I like the mini cucumbers from the grocery store because I don’t even have to cut them. Plus, if the cucumbers are kept whole, they will become more crunchy when pickling.
White vinegar – Pickling vinegar is nice but not necessary. Distilled white vinegar (5% acetic acid) is what you’re looking for.
Water – Filtered is best.

Cane sugar – This ingredient is optional. Sugar helps to balance out the flavors. Without it you will have quite a sharp vinegary, salty pickle.
Garlic – Peeled. It can be used whole or halved. Fresh for best results.
Dill – Dried dill does the job, but fresh sprigs bring bright flavor, a little health boost, and a lovely look to your jar.
Salt – We use Redmond’s Real Salt because it’s unrefined and unprocessed. Salt helps preserve your pickles as well as make them crunchy!
How to Make Dill Pickles at Home Without Canning
Step 1: Prepare your cucumbers
If your cucumbers are store-bought, a great way to wash them is to soak them in water with a bit of baking soda for a minute. Don’t forget to rinse them afterwards.
You may leave them whole if they’re small enough, or they can be sliced or cut into spears.
Step 2: Prepare your jar
Thoroughly wash the jar. Place the garlic and dill at the bottom of your jar.

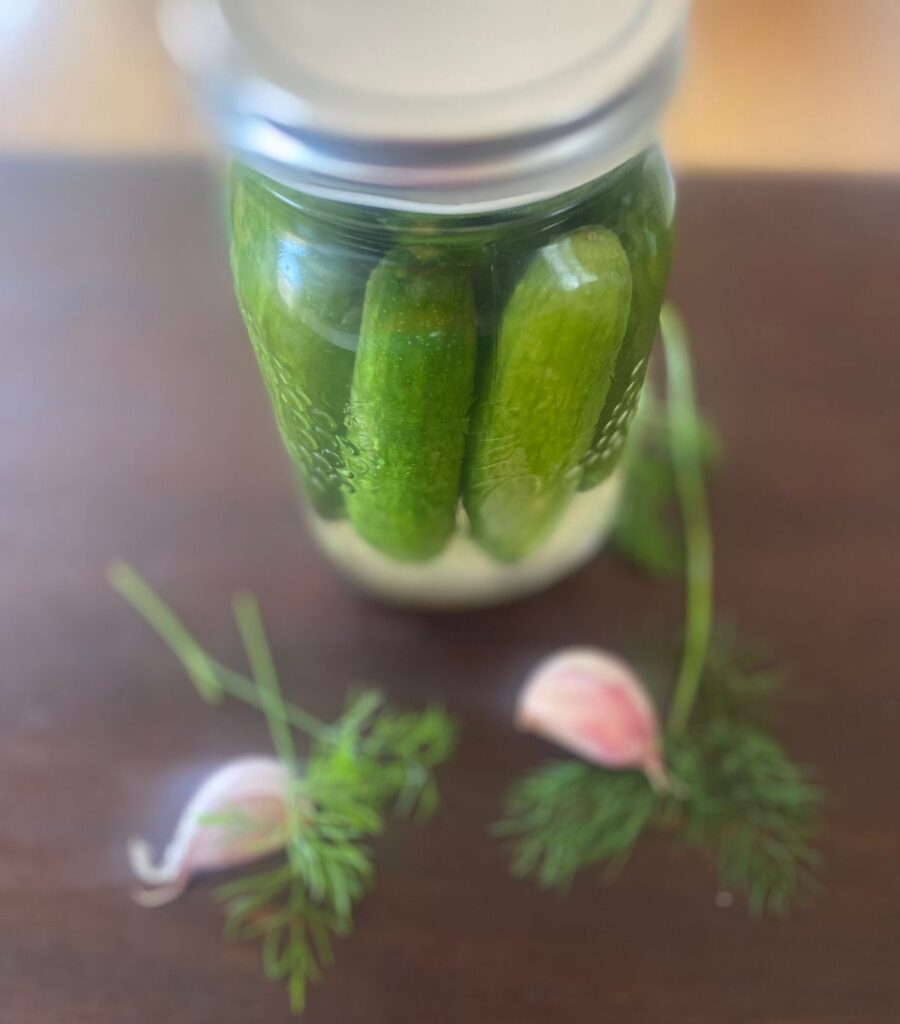
Step 3: Pack the cucumbers
Tightly pack the cucumbers into your jar vertically. Leave a bit of headspace.

Step 4: Make the brine
Bring the water and vinegar to a boil. Add the salt and sugar and stir to dissolve. Remove the brine from the heat and allow it to cool to room temperature for the crunchiest results.

Step 5: Soak
Pour the brine over your prepared jar(s). If your brine is at room temperature, secure the lid and place the jar(s) in the fridge for 24 hours to soak.
Note: If you are adding your brine while it’s still hot, allow it to come to room temperature with the lid off before placing it in the fridge.

Step 6: Enjoy your Homemade Dill Pickles!
After about 24 hours, try a pickle! They have the best crunch and flavor within the first 3 weeks, however they can be stored in the refrigerator for 2-3 months if all the pickles are mostly submerged in the brine.

Homemade Dill Pickles (No Canning Needed)
Equipment
- 1 Pint jar with its lid (a second jar may be needed for overflow)
- Funnel (not required but helpful)
Ingredients
- 6-8 small cucumbers – whole, sliced or speared
- 1 cup white vinegar (5% acetic acid)
- 1 cup filtered water
- 1 tbsp sea salt
- 1 tbsp cane sugar (optional)
- 2-3 cloves fresh garlic, peeled – whole or halved
- 3-4 sprigs fresh dill (or 3-4 tsp of dried dill)
Instructions
- Prepare the cucumbers. If your cucumbers are store-bought, a great way to wash them is to soak them in water with a bit of baking soda for a minute. Don't forget to rinse them afterwards. You may leave them whole if they're small enough, or they can be sliced or cut into spears.
- Prepare your jar. Thoroughly wash the jar. Peel the garlic and place the cloves in your jar whole or halved. Add the dill.
- Pack the cucumbers. Arrange your cucumbers into your jar vertically. Leave a bit of headspace.
- Make the brine. Bring the water and vinegar to a boil. Add the salt and sugar and stir to dissolve. Remove the brine from the heat and allow it to cool to room temperature for the crunchiest results.
- Soak. Pour the brine over your prepared jar. If your brine is at room temperature, secure the lid and place the jar in the fridge for 24 hours to soak.Note: If you are adding your brine while it's still hot, allow it to come to room temperature with the lid off before placing in the fridge.
- Enjoy and Store. After about 24 hours, try a pickle! They have the best crunch and flavor within the first 3 weeks, however they can be stored in the refrigerator for 2-3 months if the pickles are mostly submerged in brine.

FAQs
What is the difference between canned pickles and fridge pickles?
Canned pickles are made by boiling jars of brined cucumbers to create a sealed, shelf-stable product that lasts for months in the pantry.
Fridge pickles skip this step—they aren’t canned, so they’re not shelf-stable and must be kept in the refrigerator.
How long are fridge pickles good for?
If your pickles are mostly submerged in the brine, they can last 2-3 months in the fridge. But I doubt they’ll be around that long ; ) Plus, best flavor and crunch are in the first few weeks.

How do I stop my pickles from floating above the brine?
Pack the jar tightly so there’s less wiggle room. You could also use a fermenting weight but it’s not necessary.
Since this recipe’s acidic level is quite high and they are stored in the fridge, they’ll be okay as long as the pickles are mostly submerged.
Can I reuse the brine from my last batch?
You can reuse brine, but on a few conditions:
- The brine is still pretty fresh—no more than 2 weeks old.
- The brine smells fresh and vinegary and there is no visible spoilage present.
- The cucumbers used in the last batch were fresh.
- Not for canning or fermenting since the acidity and microbial balance are weakened.
- You may want/need to add a bit of salt and vinegar to revitalize the brine.
Save it for Later

Looking for more homemade goodness?
Greek Yogurt: In the Instant-Pot
Easy Homemade Mayonnaise Recipe
Homemade Granola (Sweetened with Honey)
Take a step further and try fermentation!
Homemade Sauerkraut Recipe
Fermented Carrot Recipe
Homemade Kombucha
What’s your favorite thing to pickle? Comment below : )
So excited to try these! I know the kids will enjoy helping me too!
Yes! They’ll love helping you eat them too 😅
Love this recipe! I always have a hard time finding distilled vinegar though. I didn’t know the 5% rule so that’s helpful, thank you.
So glad it’s of help! Apple cider vinegar can be used too : )