
This post may contain affiliate links.
Seed starting can seem overwhelming at first, but the accomplishment of growing your own food from scratch is SO worth it!
Do you remember planting your own little bean in elementary school? Setting your pot in the window sill and checking on it every day to see if it’d sprouted.
That’s all there is to it! Well, if you want to go as basic as possible that is. In this post I tell you what you need to get started, how to set up, and how to care for your seedlings.
But first…
When to Seed Start Indoors
When you will start depends on what hardiness zone you are in and which vegetables you would like to grow. You can find your zone here.
Each vegetable takes a different amount of time to grow and each thrives in a different climate. This information can usually also be found directly on seed packets.
For example, tomatoes take up to a couple weeks to germinate (sprout) and they do better when very warm. Whereas brassicas (broccoli and cabbage) tend to germinate quicker and can handle a cooler environment.
Once you know your zone and what you’d like to grow, you can decipher when to begin. Basically you want to know when your last frost date is.
Vegetables to Plant when Seed Starting
If you are a beginner at seed starting, I recommend trying some hardy plants such as tomatoes, cabbage and kale.
Some things to consider:
-your hardiness zone – which vegetables do well in your climate
-the amount of growing space you have
-the amount of sunlight your garden will receive (unshaded area)
-the quality of your soil
Farmer’s Almanac is a great resource for seed starting information.

Transplanting Considerations
You can start almost any seeds indoors, as long as they do well with transplanting into the ground. Some vegetables are too delicate to transplant such as root veggies like carrots, radishes and parsnips.
Some vegetables can be transplanted but must be handled with care. Examples of delicate seedlings are spinach, beets and melons.
Seed Starting Equipment
Some of the following items are very helpful and handy, however they are not necessities. Our ancestors didn’t have all the fancy gadgets we have today, right? So if you’re on a tight budget, you can be just as creative as they were ; )
Seeds
Seeds can typically be found in any grocery, dollar or department store as soon as spring hits. If you’re looking for good quality, here are some companies that I’ve used and have had success with:
Veseys Seeds (PEI)
West Coast Seeds (BC)
Johnny’s Selected Seeds (ME)
And don’t forget to ask your friends and family if they have seeds they would like to share! Many people save seeds from their very own vegetable plants – how neat?
Soil – Seed Starting Mix
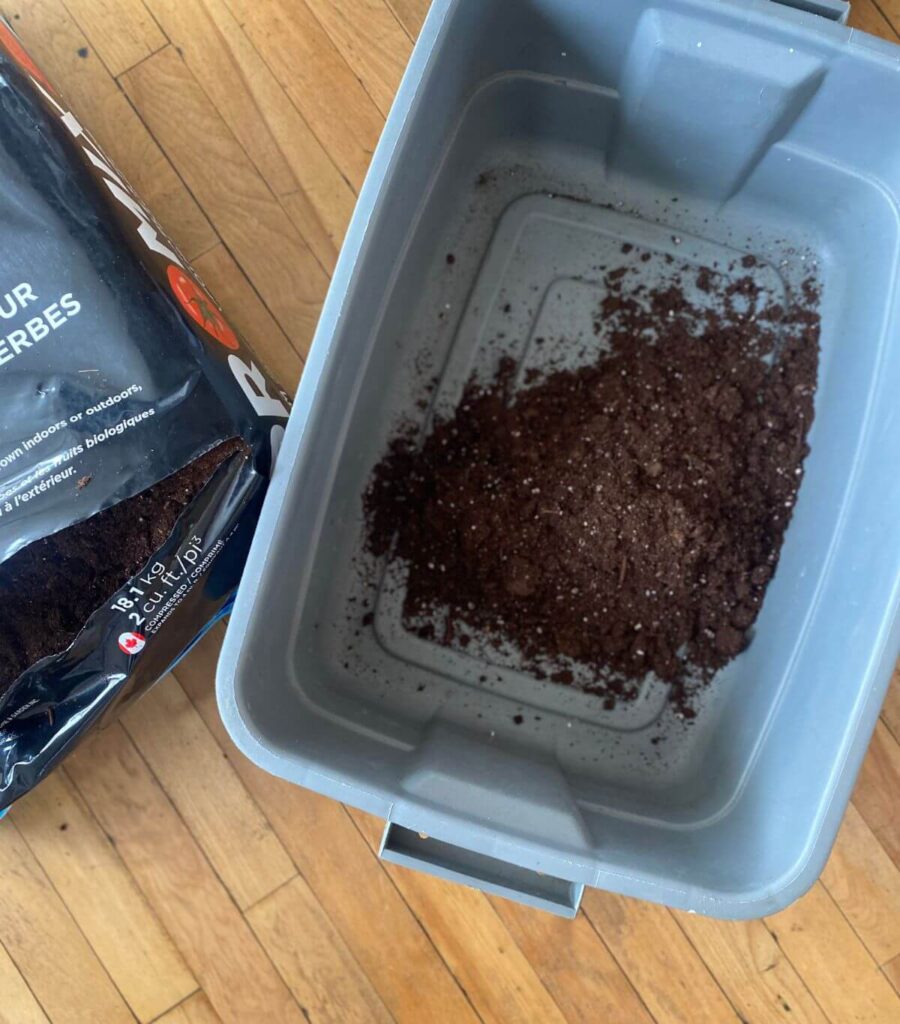
There are numerous types of soil available for starting seeds. I like to get mine from Costco – they carry PROMIX Organic Seed Starting Mix.
Seed Starting Trays
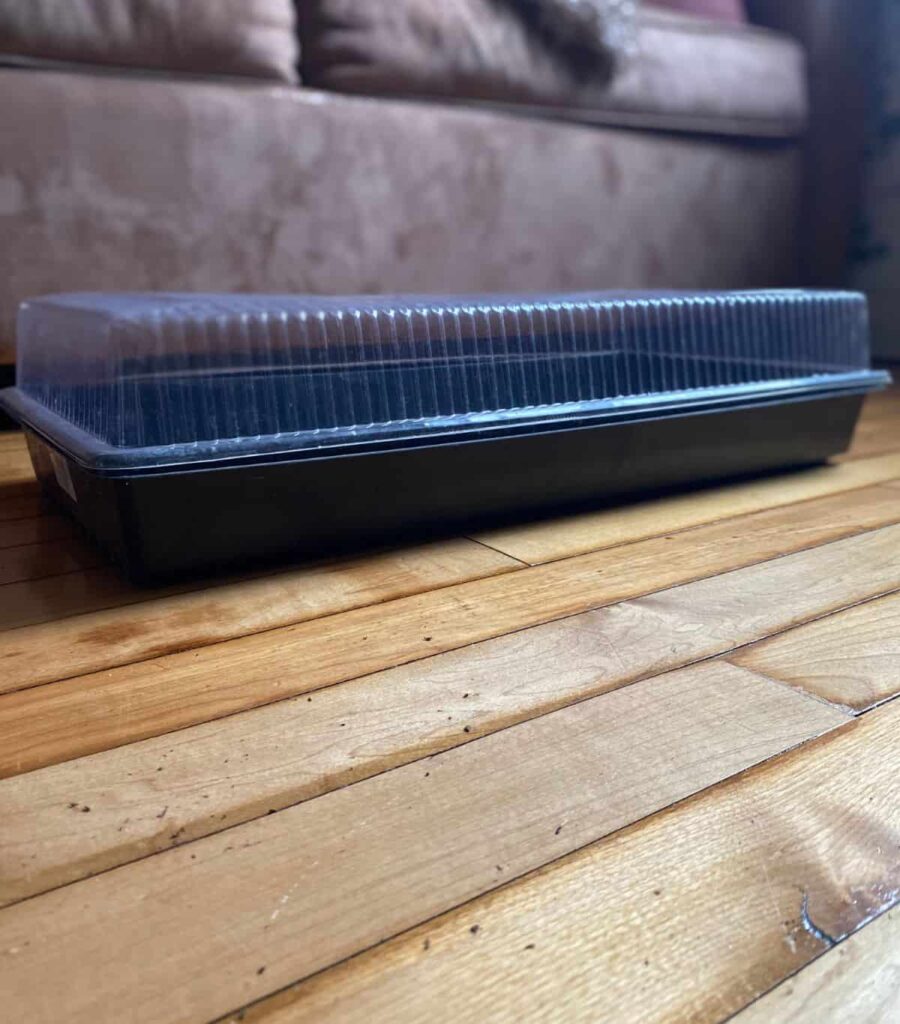
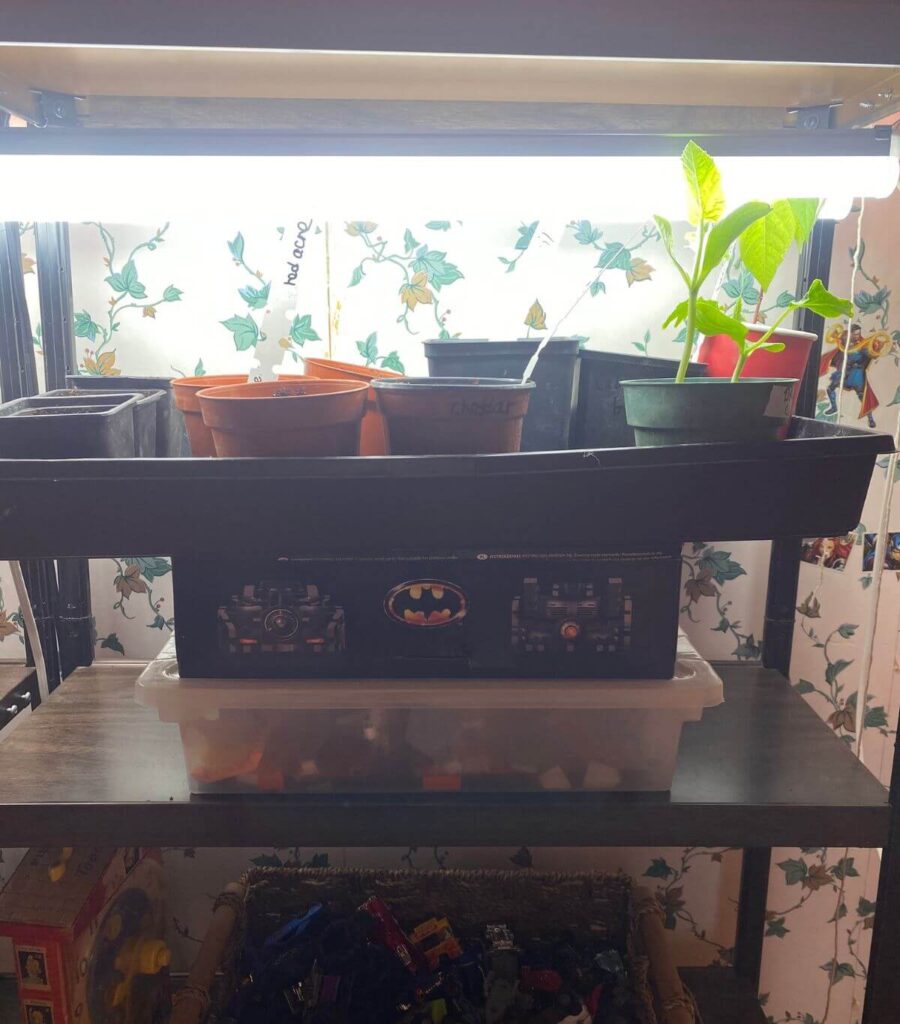
A good sturdy seed starting tray is ideal because you want to be able to rotate it and carry it when transplanting time comes. Quite a few pots can fit in a tray, so it gets pretty heavy.
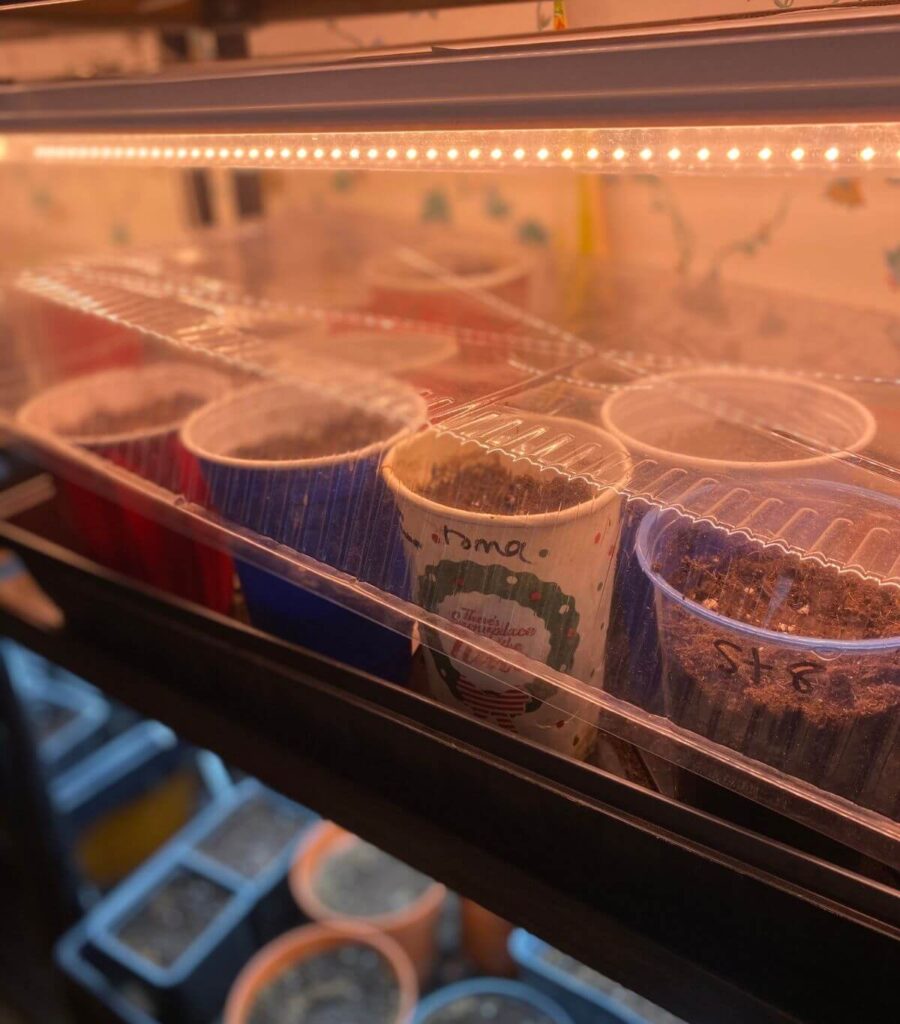
The lid is helpful for germination – to speed the sprouting process along. The lid creates a mini greenhouse, keeping the soil warm and moist, allowing the seed to root, grow roots and leaves!
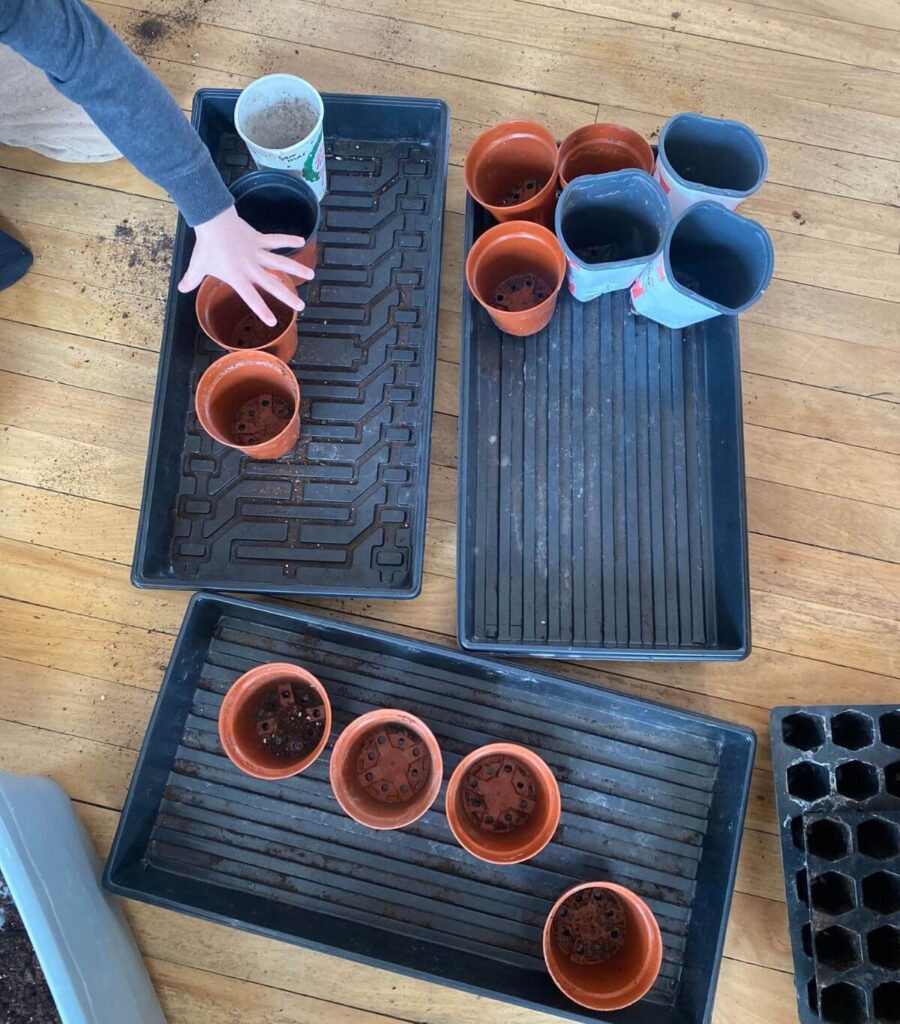
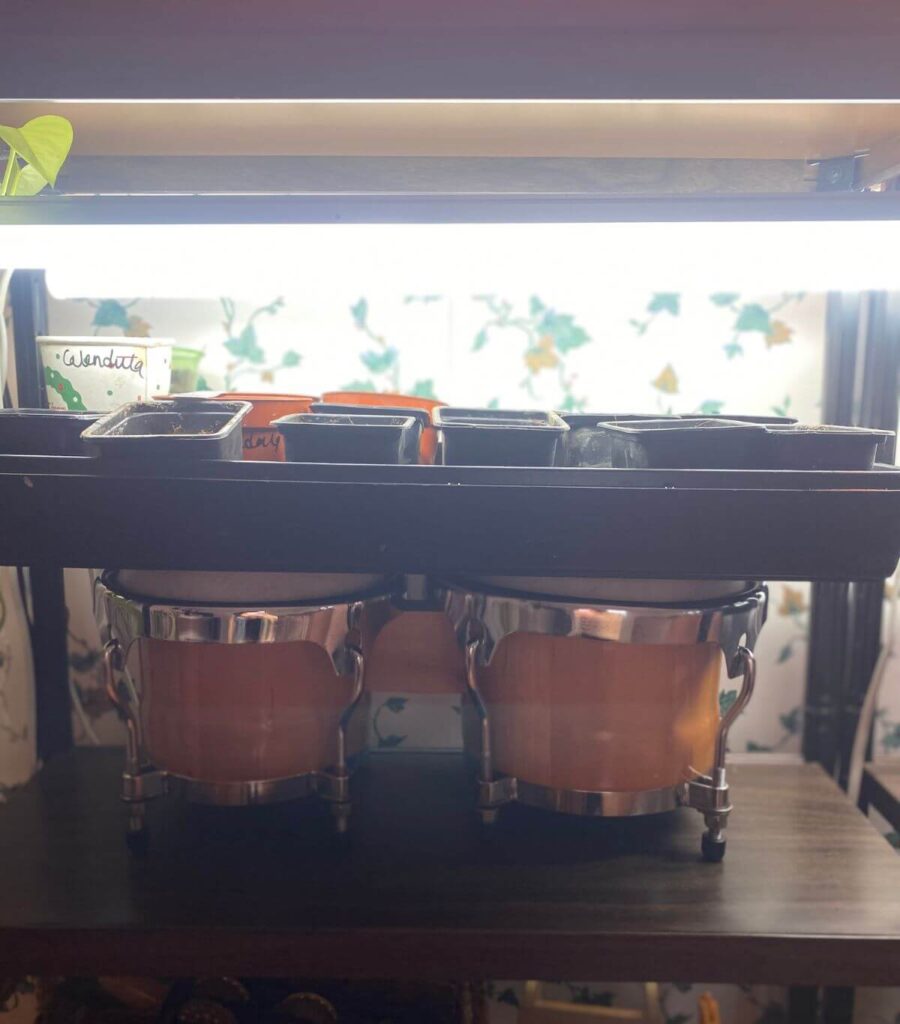
Seed Starting Pots
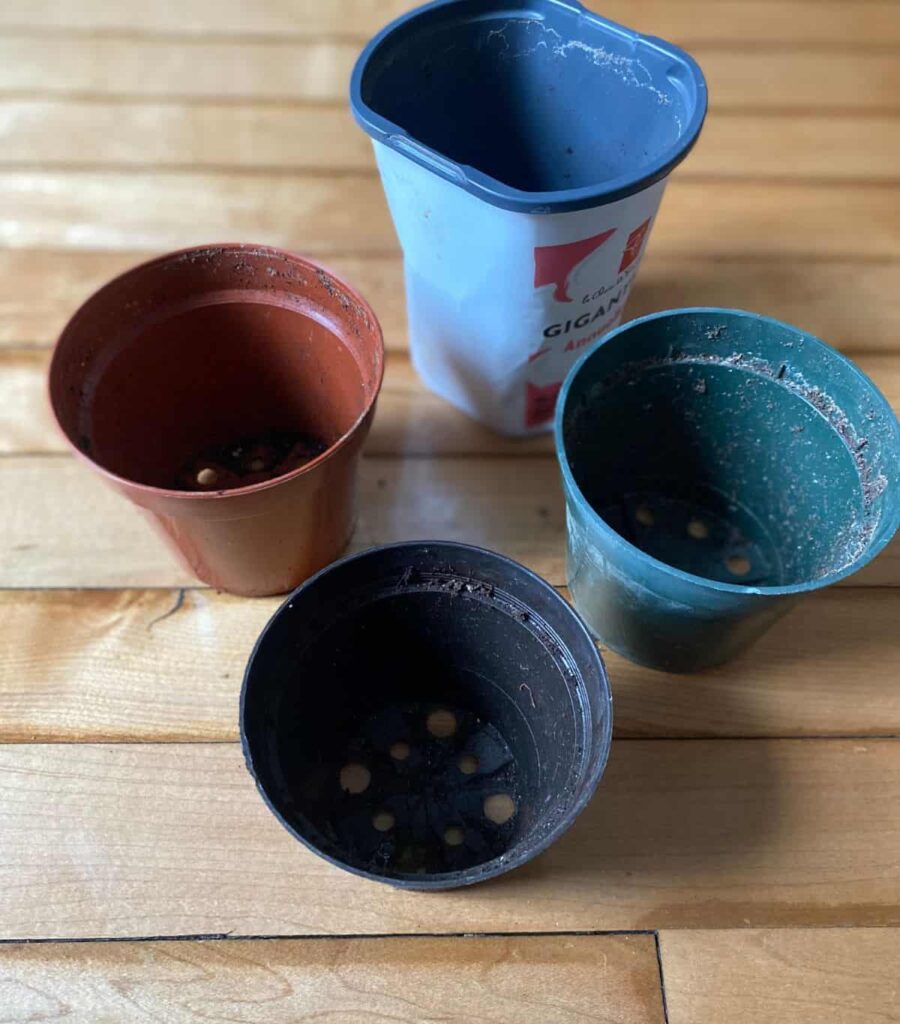
Any cup with holes can be used here. We had a farmer friend who saved hundreds of Tim Horton’s cups and gave us tons! We just had to slit the bottoms so that water could drain.
Note: If you are planting a lot, you might want the seed starting trays with cells in them. You will then need to transplant them into larger pots as they grow.
Spray Bottle
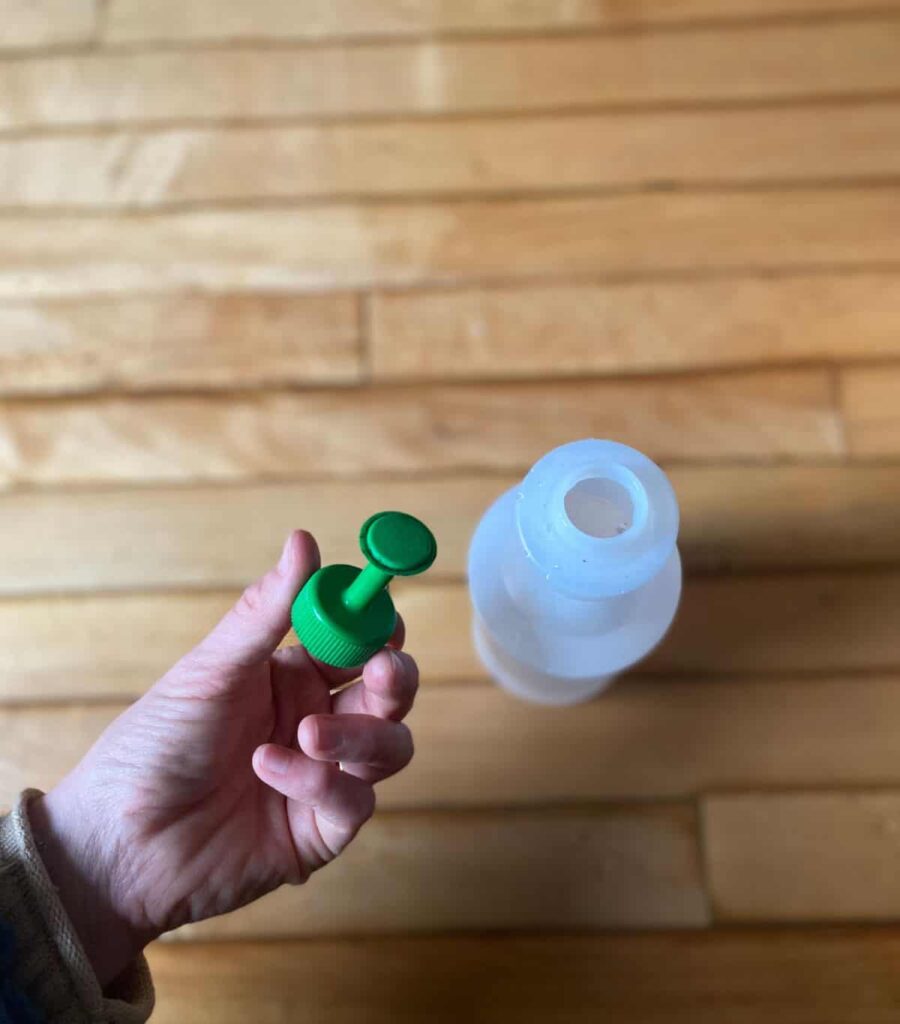
A regular spray bottle will do, but your hand can get sore if you have a lot to water! I bought this sprayer nozzle a couple years ago from Lee Valley. Handy little thing because you squeeze the bottle and out sprays the water as close or far as you control.
Heat Mats
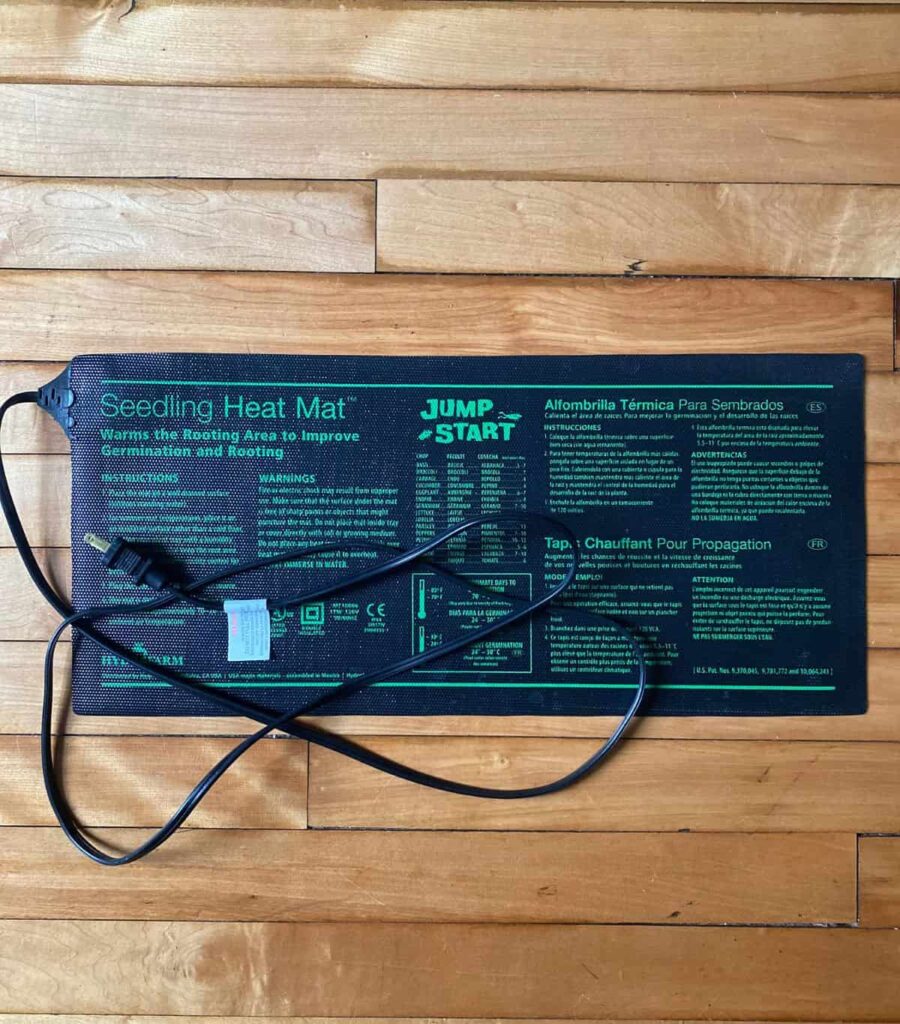
For plants that prefer a warmer environment, heat mats are very helpful, especially if you’re like us and keep your home on the cooler side. It just plugs into the wall and you set your seed tray on it.
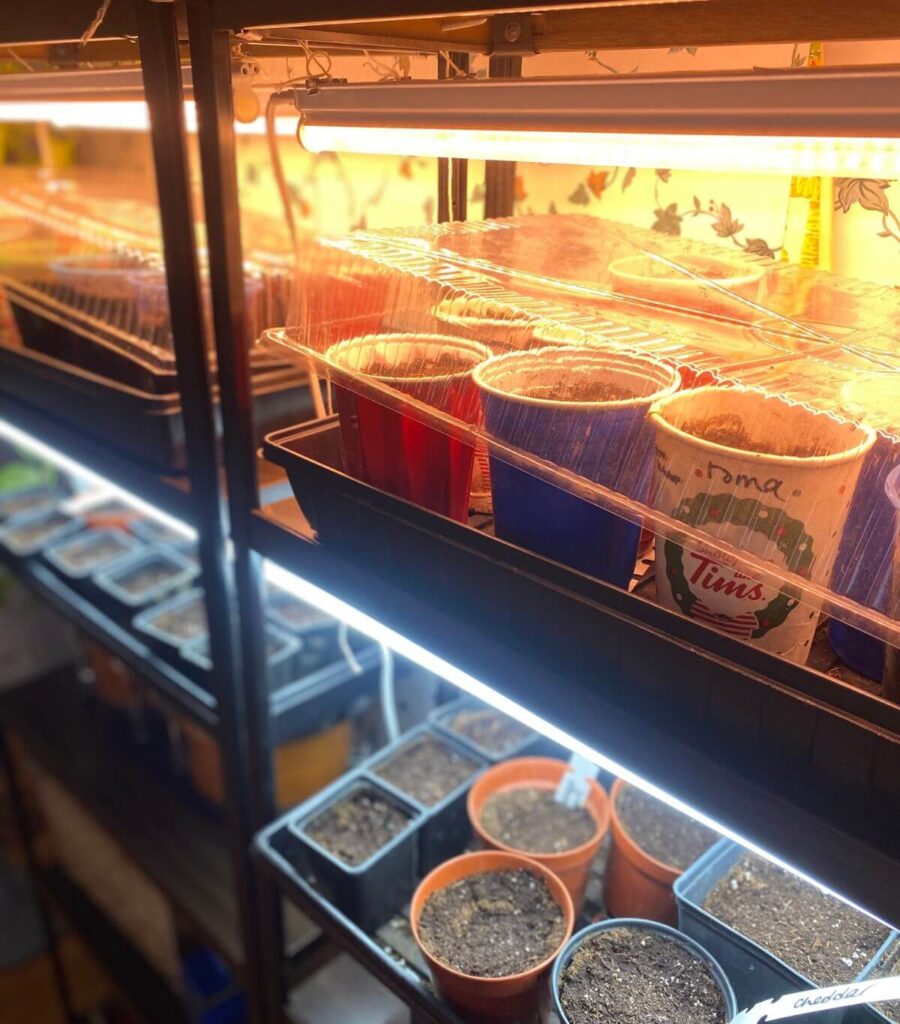
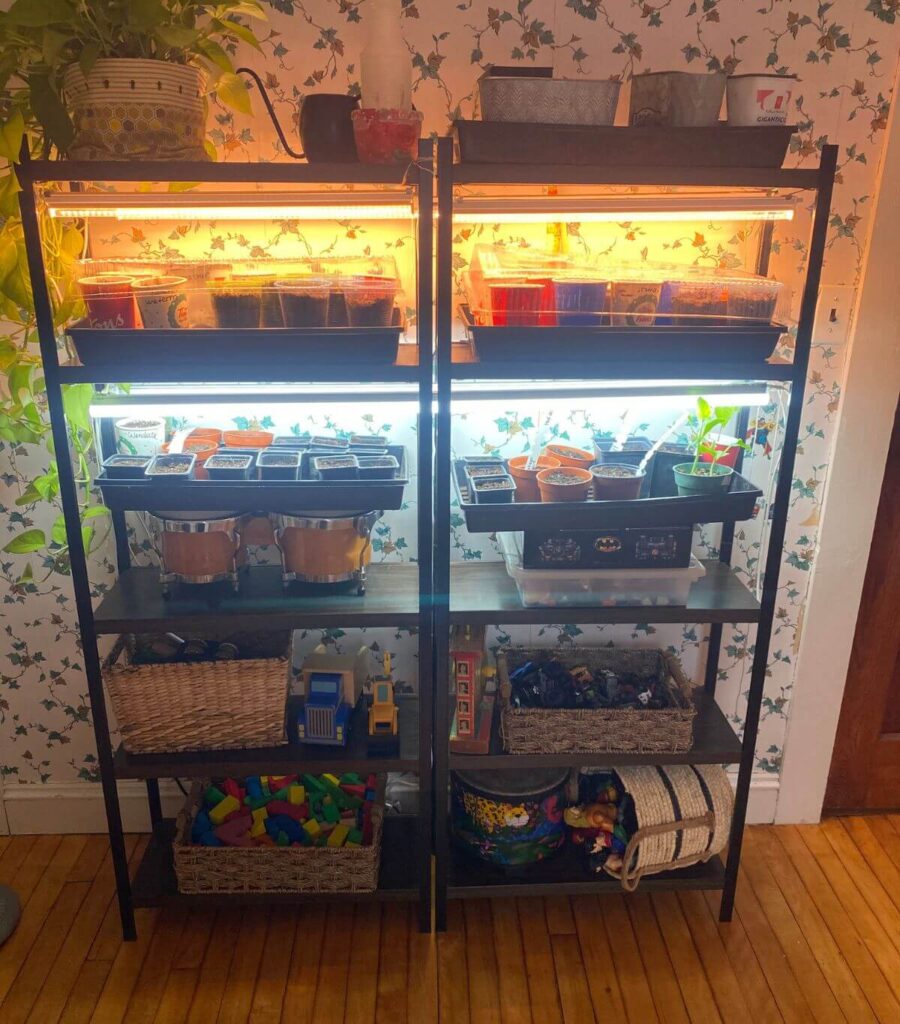
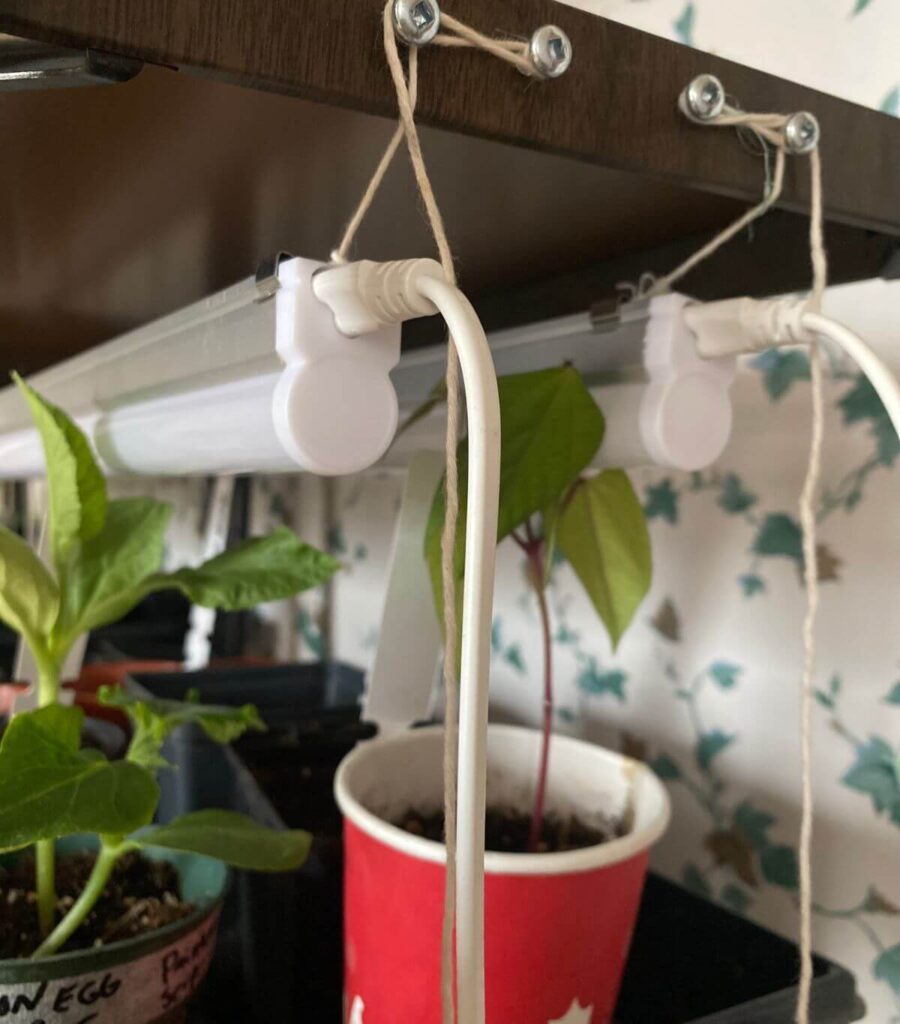
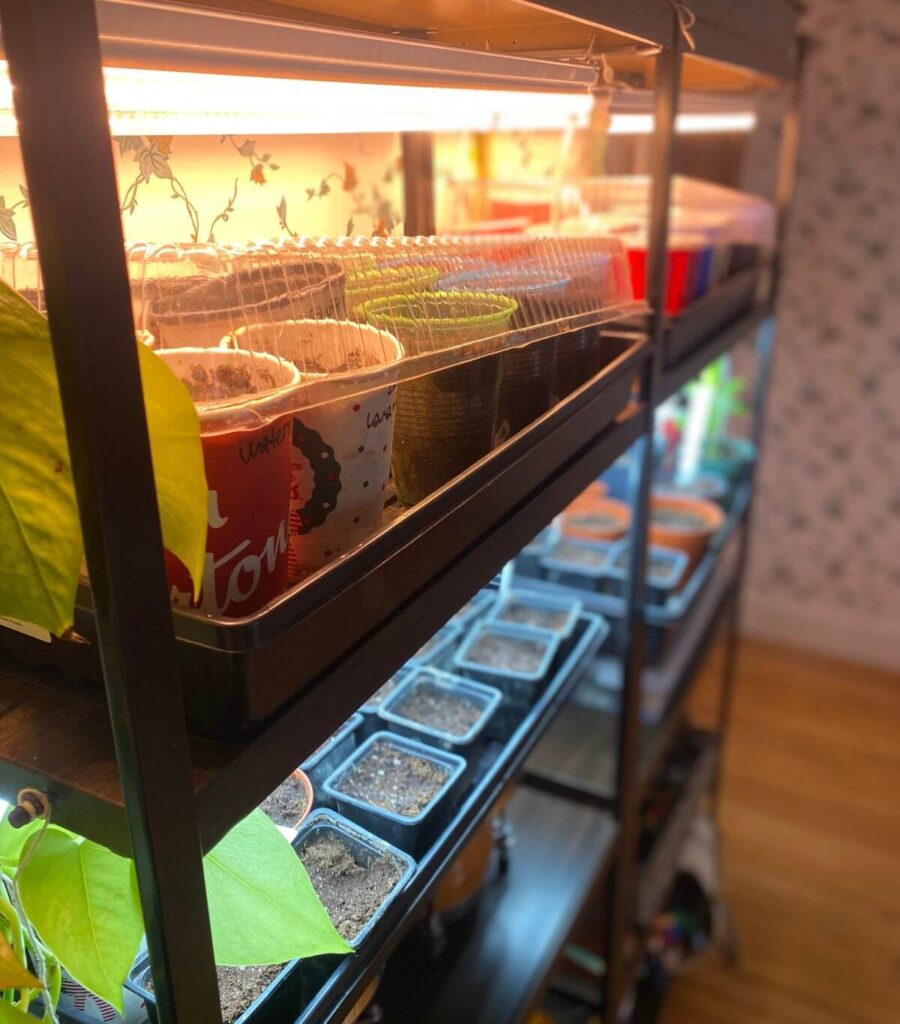
Grow Lights

Near a sunny window will be helpful but at this stage in the game, your seedlings are likely to get leggy because they are reaching for more light. You can arrange the lights just above your trays so that your seedlings won’t be working harder than they have to. My handy husband rigged ours to be adjustable. They can be raised as my seedlings grow 🙂
Markers and Tags
Since your seedlings will need to be watered every day, you want labels that don’t wash away! Permanent marker on popsicle sticks may not last and then you will be left wondering what is what. I’ve been purchasing UV resistant, waterproof garden markers and waterproof labels that work fantastically. They can be purchased online.
How to Seed Start Indoors
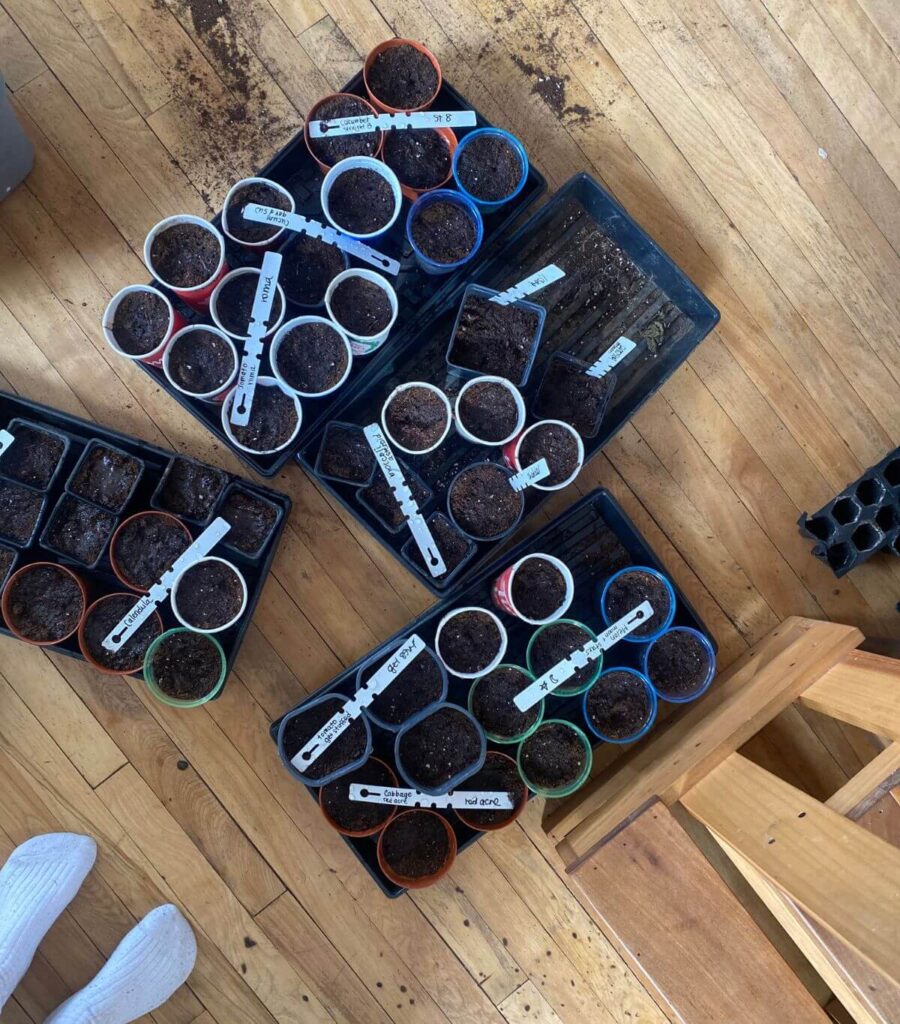
Step 1 – Arrange your empty pots in the seed starting trays.
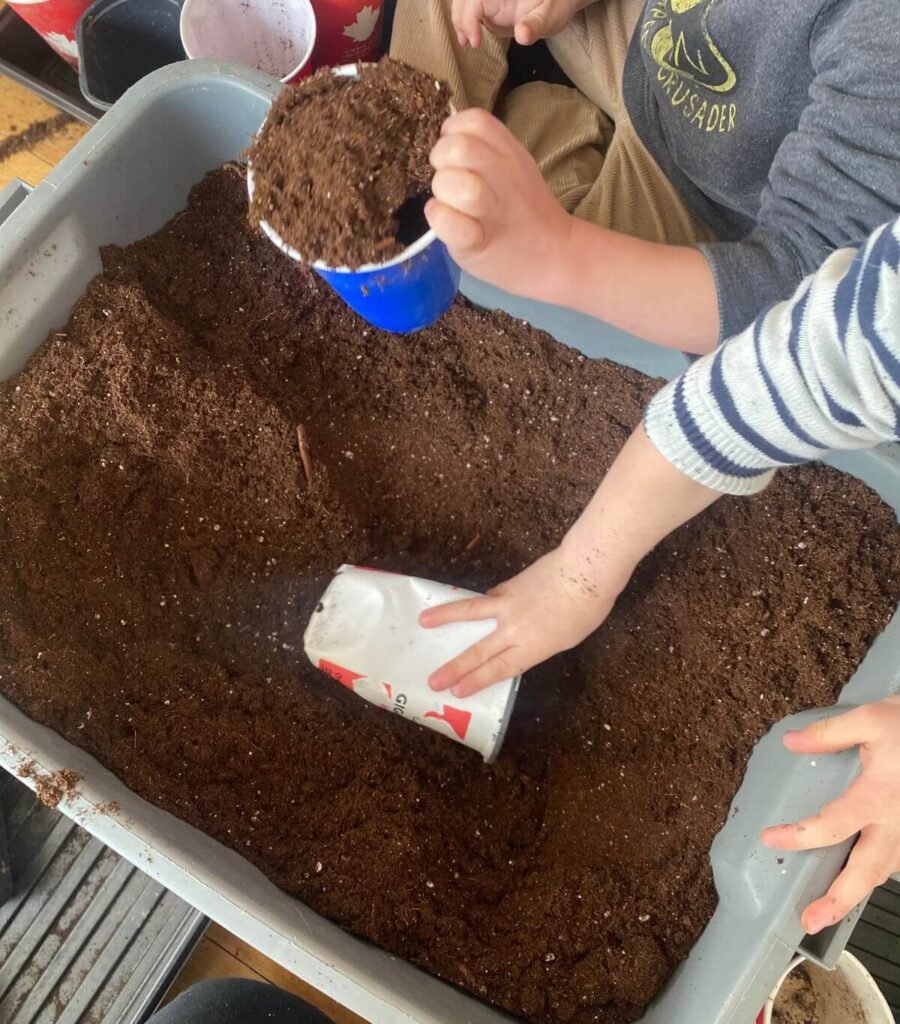
Step 2 – Dump some soil into a bucket or bin for easier access.
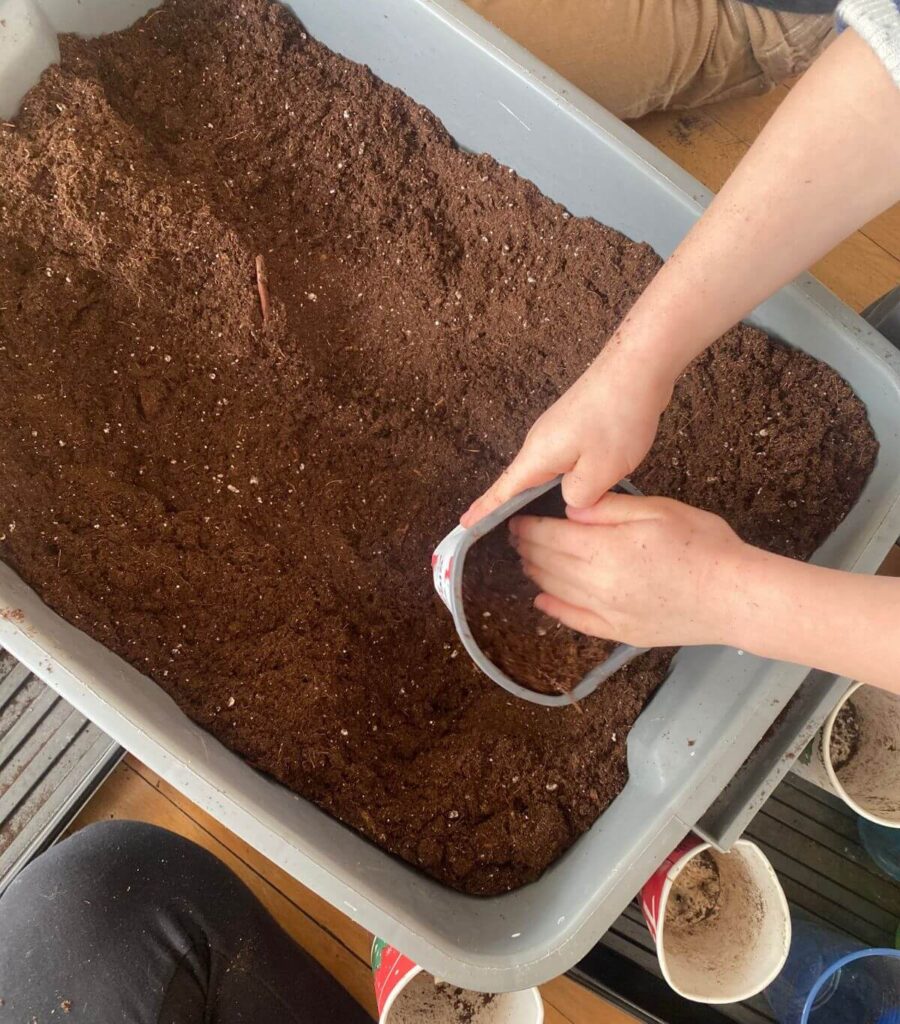
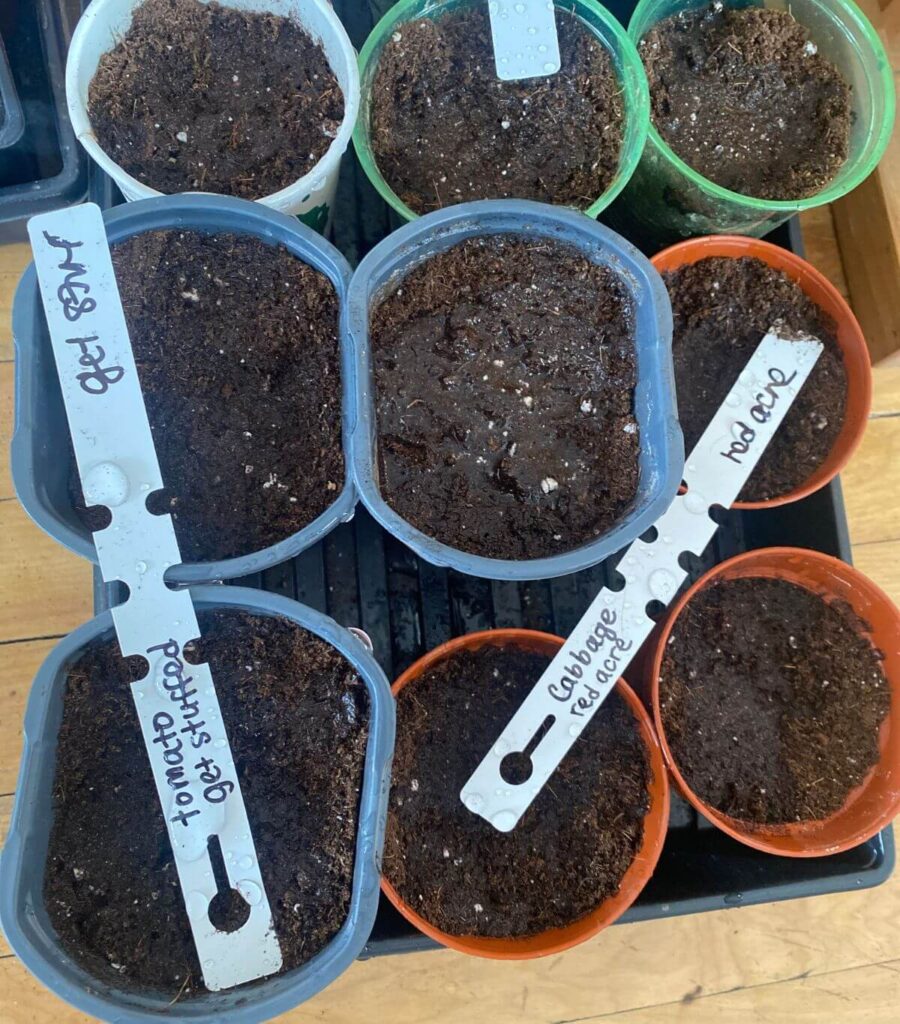
Step 3 – Fill each pot with soil.
Step 4 – Label each pot with your marker and label one tag per plant type (this tag will go in the ground later. Don’t make the mistake I’ve made and neglect labelling each individual pot. You will wind up confused, trust me!
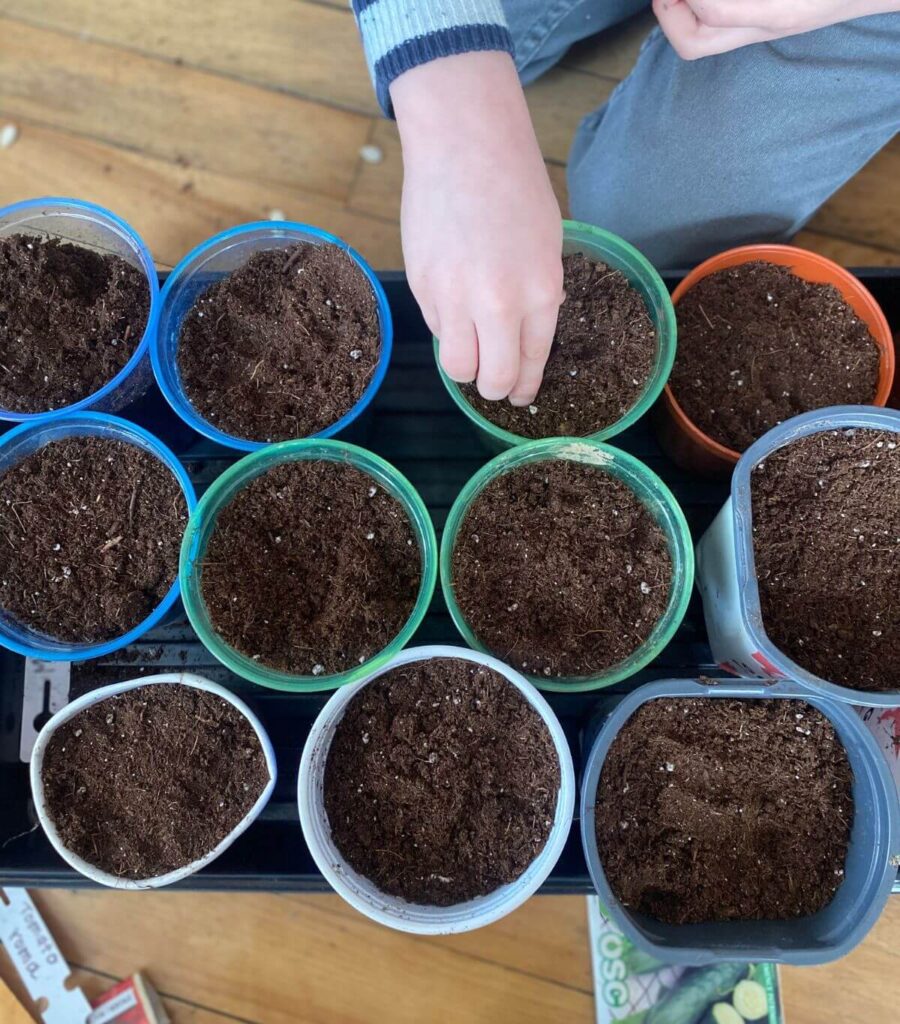
Step 4 – Poke a hole in the soil of each pot and place the corresponding seed in the hole. Cover the seed with soil.
Step 6 – Water your seeds. You want the soil to be moist, not soaked.

Step 7 – Put the lids on and place the trays under your grow lights or in a sunny window.
Seed Starting Set Up
Here’s where you get to be creative! There may be some factors to consider when setting up your seed starting trays:
Toddlers and pets – You may need to set your trays up out of reach.
On a budget – You can be creative if you don’t have grow lights or heat mats.
Shelving styles and heights – Improvise with props or create a pulley system for adequate lighting.
Outlet and window locations – You may need to rearrange furniture or re-purpose a shelf.
How to Care for Seedlings Indoors
Seedlings have 3 main needs: Water, light and warmth.
Water
Until your seeds germinate, the soil must be kept moist. The seed needs water to “wake up.” The protective coating of the seed must soften in order to release the embryo inside and do its thing; thus water is required.
- Spray soil every day to keep it moist
- Keep lids on until you see sprouts
- Remove lids once germinated
- Continue watering daily, just enough to keep the soil moist
Once your seeds have germinated, remove the lids to allow oxygen and to prevent rotting. Continue to water every day but slightly less than before, maintaining moist soil.
Light
Once your seeds have germinated (yay!), they need light to grow. A sunny window sill may suffice, however your seedlings may become leggy reaching for the light. If you’re serious about seed starting, grow lights are definitely worth buying.
- Two grow lights per tray is ideal
- Arrange your trays 2 – 4 inches below the grow lights
- Adjust your tray or light height as your seedlings grow
- Rotate your trays back and forth daily (see FAQs)
Warmth
Seedlings need to be kept warm in order to grow efficiently. Ideal temperatures:
- For germination – between 18 and 24°C (65-75°F).
- After germination – between 15 and 21°C (60-70°F).
Ways to maintain warmth:
- Set up your trays away from drafts, windows or exterior doors
- Set your trays on warm surfaces such as wood or fabric
- Use heat mats
FAQs
Do I need to soak seeds before planting?
No, you don’t need to soak your seeds before planting, however it can help to speed up the germination process.
Some people soak their seeds in wet paper towel. If you choose this route, be sure to transfer your seeds to soil as soon as they sprout, or else they will rot.
How long do you leave grow lights on when seed starting?
Seedlings should get between 12 to 16 hours of light to grow strong. Note: Seeds do not need light in order to germinate.
When should I seed start indoors?
When to start your seeds depends on a few factors. First, you need to know which hardiness zone you are in to find out when your last frost date is. It also depends what vegetables you would like to grow as each plant varies in germination and growing time.
Need a garden for transplanting?
My friend Marta of Out by the Door offers tons of gardening ideas here.
Want to create more things from scratch while your seedlings grow?
Try my Fermented Carrot Recipe or Easy Homemade Mayonnaise.
How to Start Seeds Indoors
Equipment
- Seed starting trays with lids
- Small pots or repurposed cups/containers
- Spray bottle
- Heat mat -optional
- Grow lights -very helpful
Materials
- Seeds
- Seed starting soil
Instructions
- Arrange your empty pots in the seed starting trays.
- Mark each pot and label tag by vegetable name.
- Fill each pot with soil.
- Poke holes in the soil about half an inch deep or as indicated on the seed pack.
- Insert corresponding seeds and cover with soil.
- Spray the soil enough to make it moist. Add the lids.
- Place trays in a sunny window or ideally under grow lights. Note: Lights do not need to be on until the seeds sprout.
I have a few other suggestions for seed suppliers. Incredible seeds in NS have an amazing selection of unique seed choices and I also have purchased from Rival Seeds also in NS. If looking for a wide selection of herbs Richters Herbs in ON
https://www.incredibleseeds.ca/collections/spring-tree-
salehttps://revivalseeds.ca/
https://www.richters.com/
Great! Thanks for sharing!